“Transforming Words into Art: Creating a Stunning Letter Portrait in Photoshop”
As a graphic designer, one of the most rewarding aspects of my work is the ability to transform simple concepts into visually striking pieces of art. One such technique that has gained popularity is the creation of letter portraits. This unique form of art combines typography and imagery, allowing you to express personality and emotion through the arrangement of letters. In this blog, I’ll guide you through the process of creating a letter portrait using Photoshop, ensuring you can bring your creative vision to life.
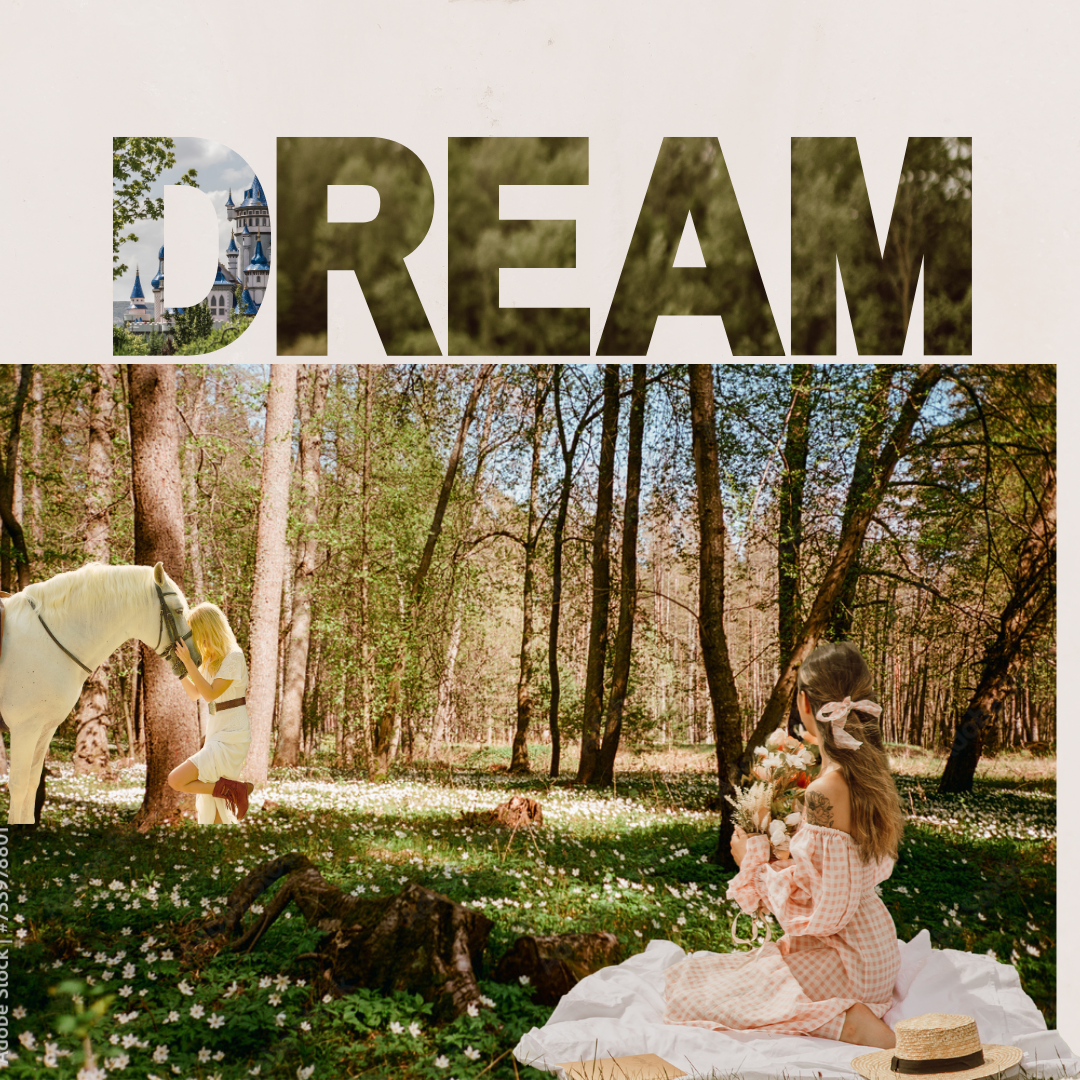
What is a Letter Portrait?
A letter portrait is an artistic representation of a person or object created using letters or words. The letters can be arranged in various ways to form the shape of the subject, often incorporating meaningful text that adds depth to the artwork. This technique is not only visually appealing but also deeply personal, making it a perfect gift or a unique addition to your portfolio.
Step-by-Step Guide to Creating a Letter Portrait in Photoshop
Step 1: Choose Your Subject
Start by selecting a subject for your letter portrait. This could be a person, an animal, or even an object. For this tutorial, let’s say we’re creating a portrait of a person.
Step 2: Gather Your Text
Next, think about the words or phrases that represent your subject. This could include their name, favorite quotes, or adjectives that describe their personality. The more meaningful the text, the more impactful your portrait will be.
Step 3: Prepare Your Canvas
Open Photoshop and create a new document. Set the dimensions based on where you plan to display your artwork. A standard size could be 18×24 inches at 300 DPI for high-quality prints.
Step 4: Import Your Image
Import a high-resolution image of your subject into Photoshop. This will serve as a reference for your letter portrait. You can lower the opacity of this layer to make it easier to see the text you’ll be adding.
Step 5: Choose Your Font
Select a font that complements the mood of your subject. You can use a single font or mix different styles for a more dynamic look. Make sure the font is legible, as the text will form the shape of the portrait.
Step 6: Start Typing
Using the Text Tool, begin typing your chosen words. You can adjust the size, spacing, and orientation of the text to fit the contours of your subject. It’s helpful to work in layers, allowing you to manipulate each section of text individually.
Step 7: Adjust Text Placement
As you type, continuously refer back to your reference image. Adjust the placement of the text to ensure it follows the shape of the subject. You may need to warp or transform some letters to fit better.
Step 8: Add Color and Effects
Once you’re satisfied with the text placement, consider adding color to enhance the portrait. You can use layer styles like drop shadows or gradients to give depth to the letters. Experiment with blending modes to create interesting effects.
Step 9: Final Touches
Review your artwork and make any necessary adjustments. You might want to add a background or additional elements that complement the portrait. Once everything looks good, save your work in both PSD and high-resolution JPEG formats.
Step 10: Share Your Creation
Finally, share your letter portrait on social media or print it out to showcase your skills. This unique piece of art not only highlights your design abilities but also tells a story through the words you’ve chosen.
Conclusion
Creating a letter portrait in Photoshop is a fulfilling project that allows you to merge typography with imagery. By following these steps, you can craft a personalized piece that resonates with viewers and showcases your creativity as a graphic designer. So grab your favorite quotes, unleash your imagination, and start creating stunning letter portraits today!